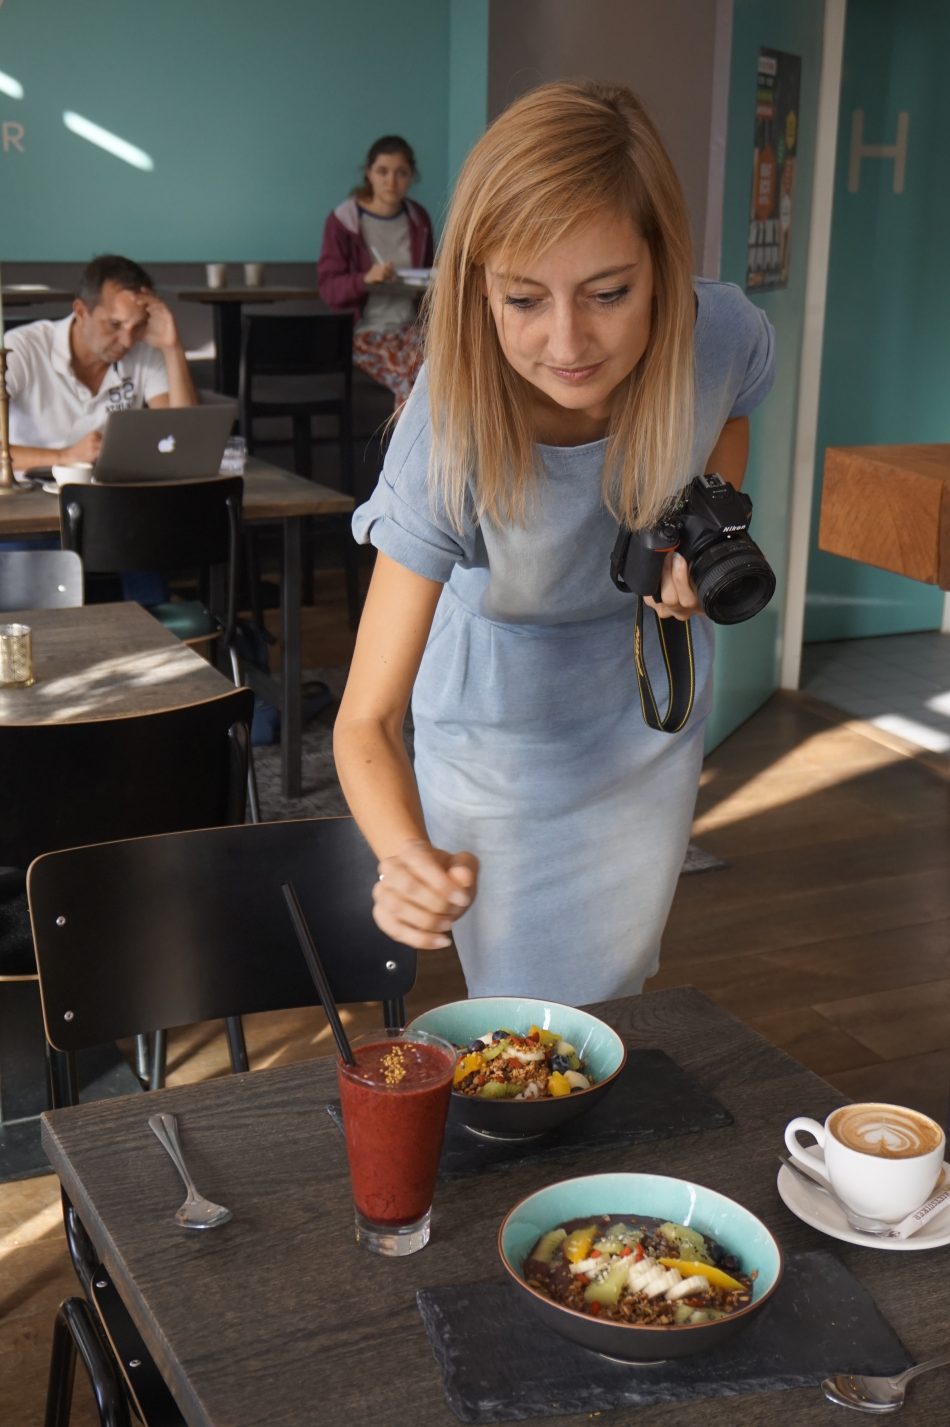
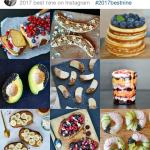
Do you like to post pictures of your food on Instagram or Facebook but could you use some tips? Check out this blog post! I’m sharing my top 5 food photography tips with you. I came a long way before my pictures were what they are now and I’m still learning! On this page I’ll share some tips with you including examples so you can see how small things can make a big difference.
Before we start, I have to say that I take all my pictures with a good camera, not with my phone. So if you want to take your food photography to a higher level and your still snapping with your smartphone, it might be worth checking out some camera’s!
But here you go, my 5 food photography tips!
1 Get pretty tableware
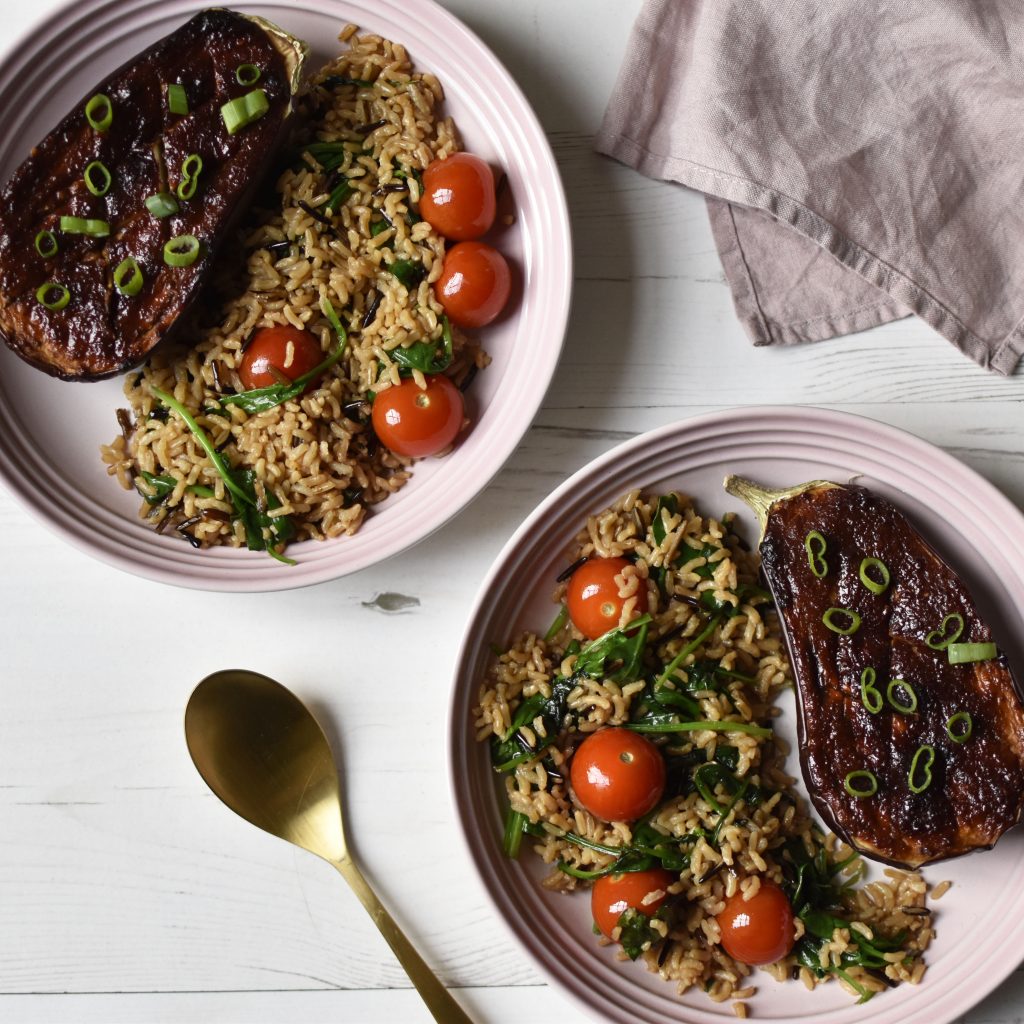
It’s what I found most frustrating about food shoots in restaurants; you have no control over the plates. Luckily you do when you’re photographing your own dishes at home. Trust me, no dish looks good on a boring plain white plate. It’ll reflect the light and’ll make the colors very pale. Go for more dark table ware, or at least plates with a pinch of color. I like this black tableware, but I also often use green, blue or pink plates and bowls. If you use white plates, make sure there’s something unique about them like a raised edge or a small pattern.
2 Camera Angle
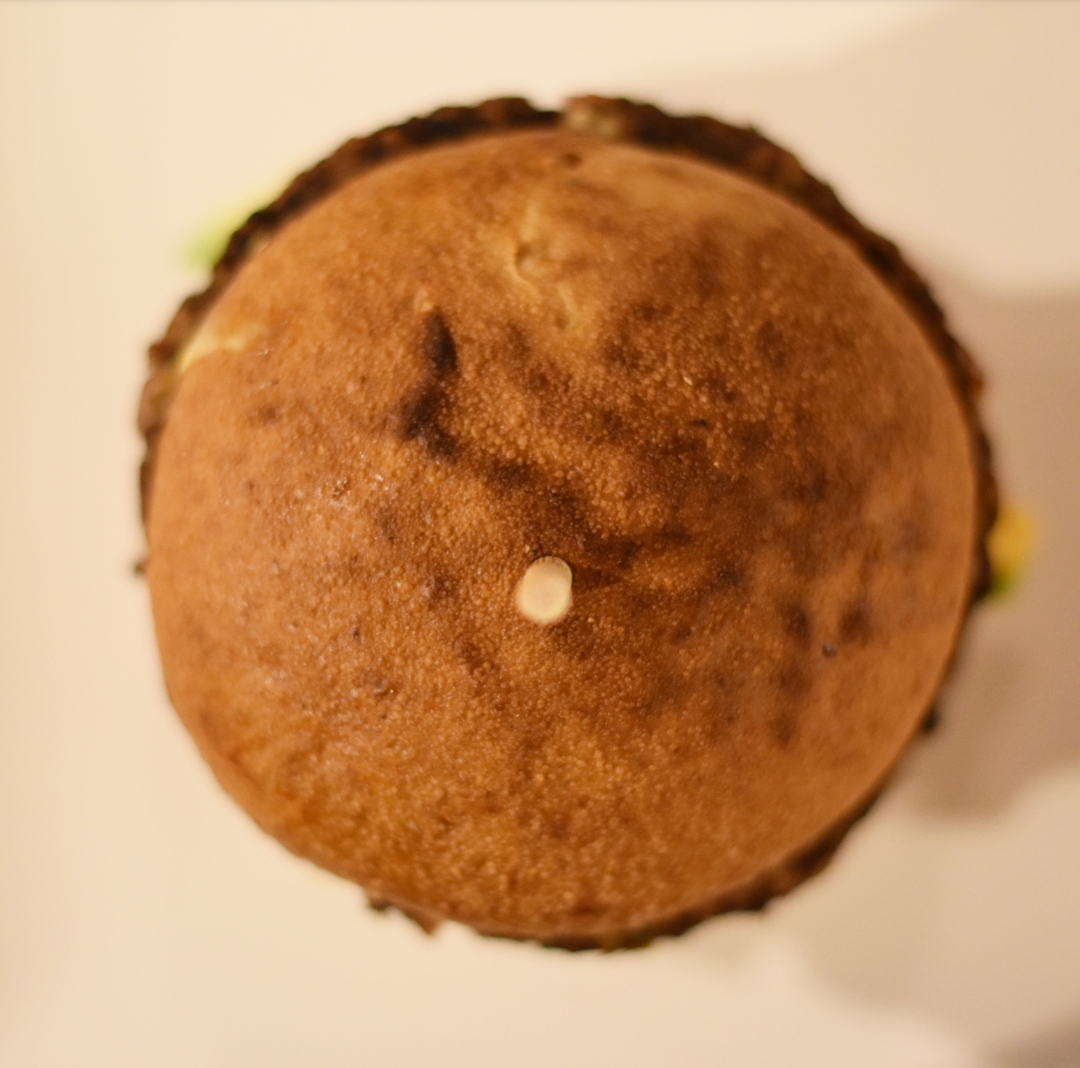
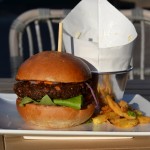
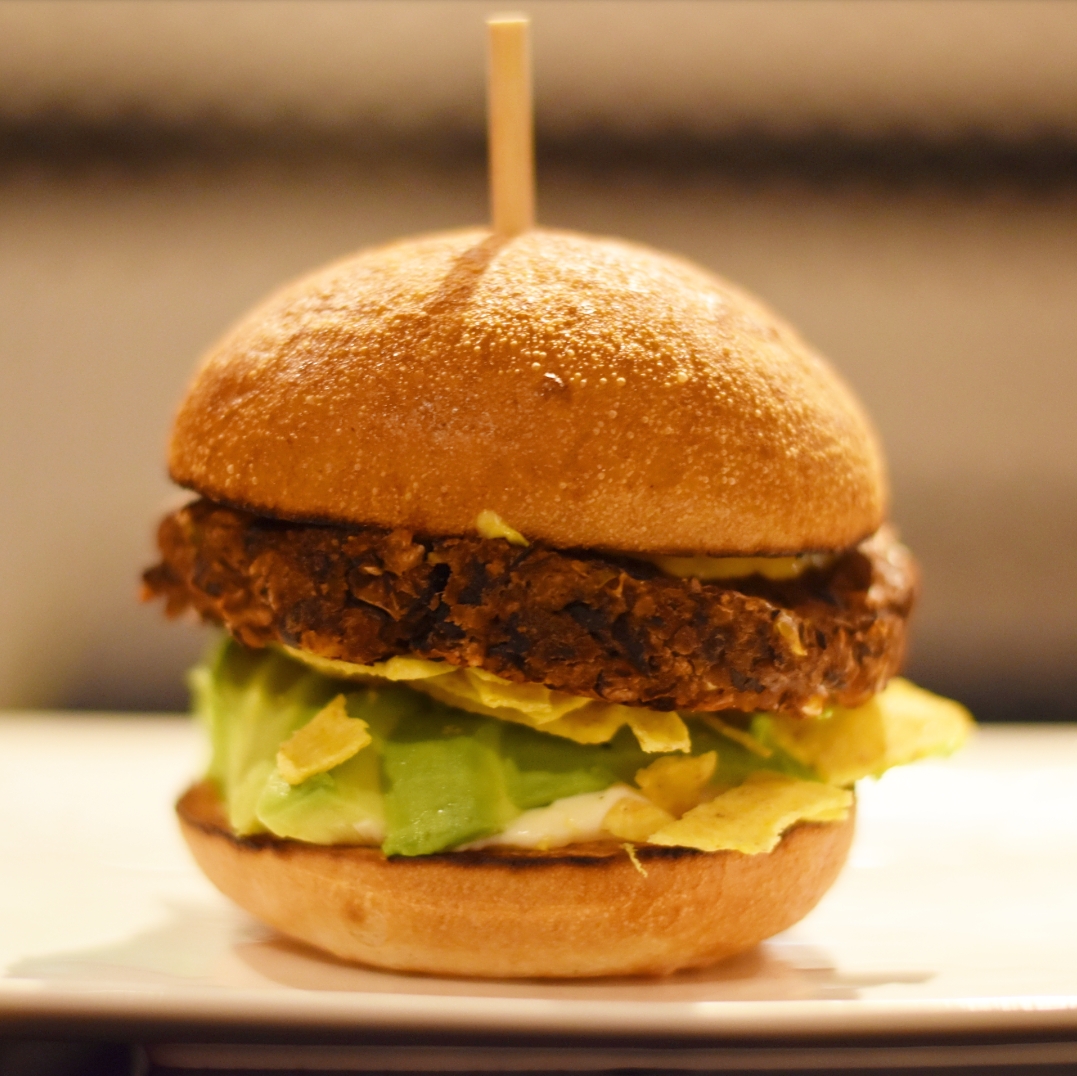 With each dish, think about your camera angle. Each dish will ask for another viewing point. Basically there are 3 options: from above, a 45º angle or from the front. For breakfast bowls it works very well to take the picture straight from above so you’ll see all the ingredients that are in the bowl. But for a hamburger it’ll work best to shoot it from the front, on the same level as the hamburger (yes you’ll need to sit on your knees for a good burger picture). Check out the difference above, it’s the same burger but another angle. In case you’re curious; it’s the vegetarian Mexican burger from Thrill Grill.
3 Light/dark
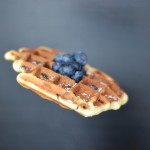
 This is the exact same dish but a whole different picture. It shows that you should consider what kind of background you use. What kind of story do you want to tell, what kind of feeling do you wan’t to communicate? Maybe it also depends on the season, I tend to take more light pictures in spring and summer and dark pictures in autumn and winter. There are some beautiful Instagram feeds that are very consistent in always using a white background or always a black background. I love scrolling through them but as I take many travel and restaurant pics as well it’s not doable for me to always have the same background color.
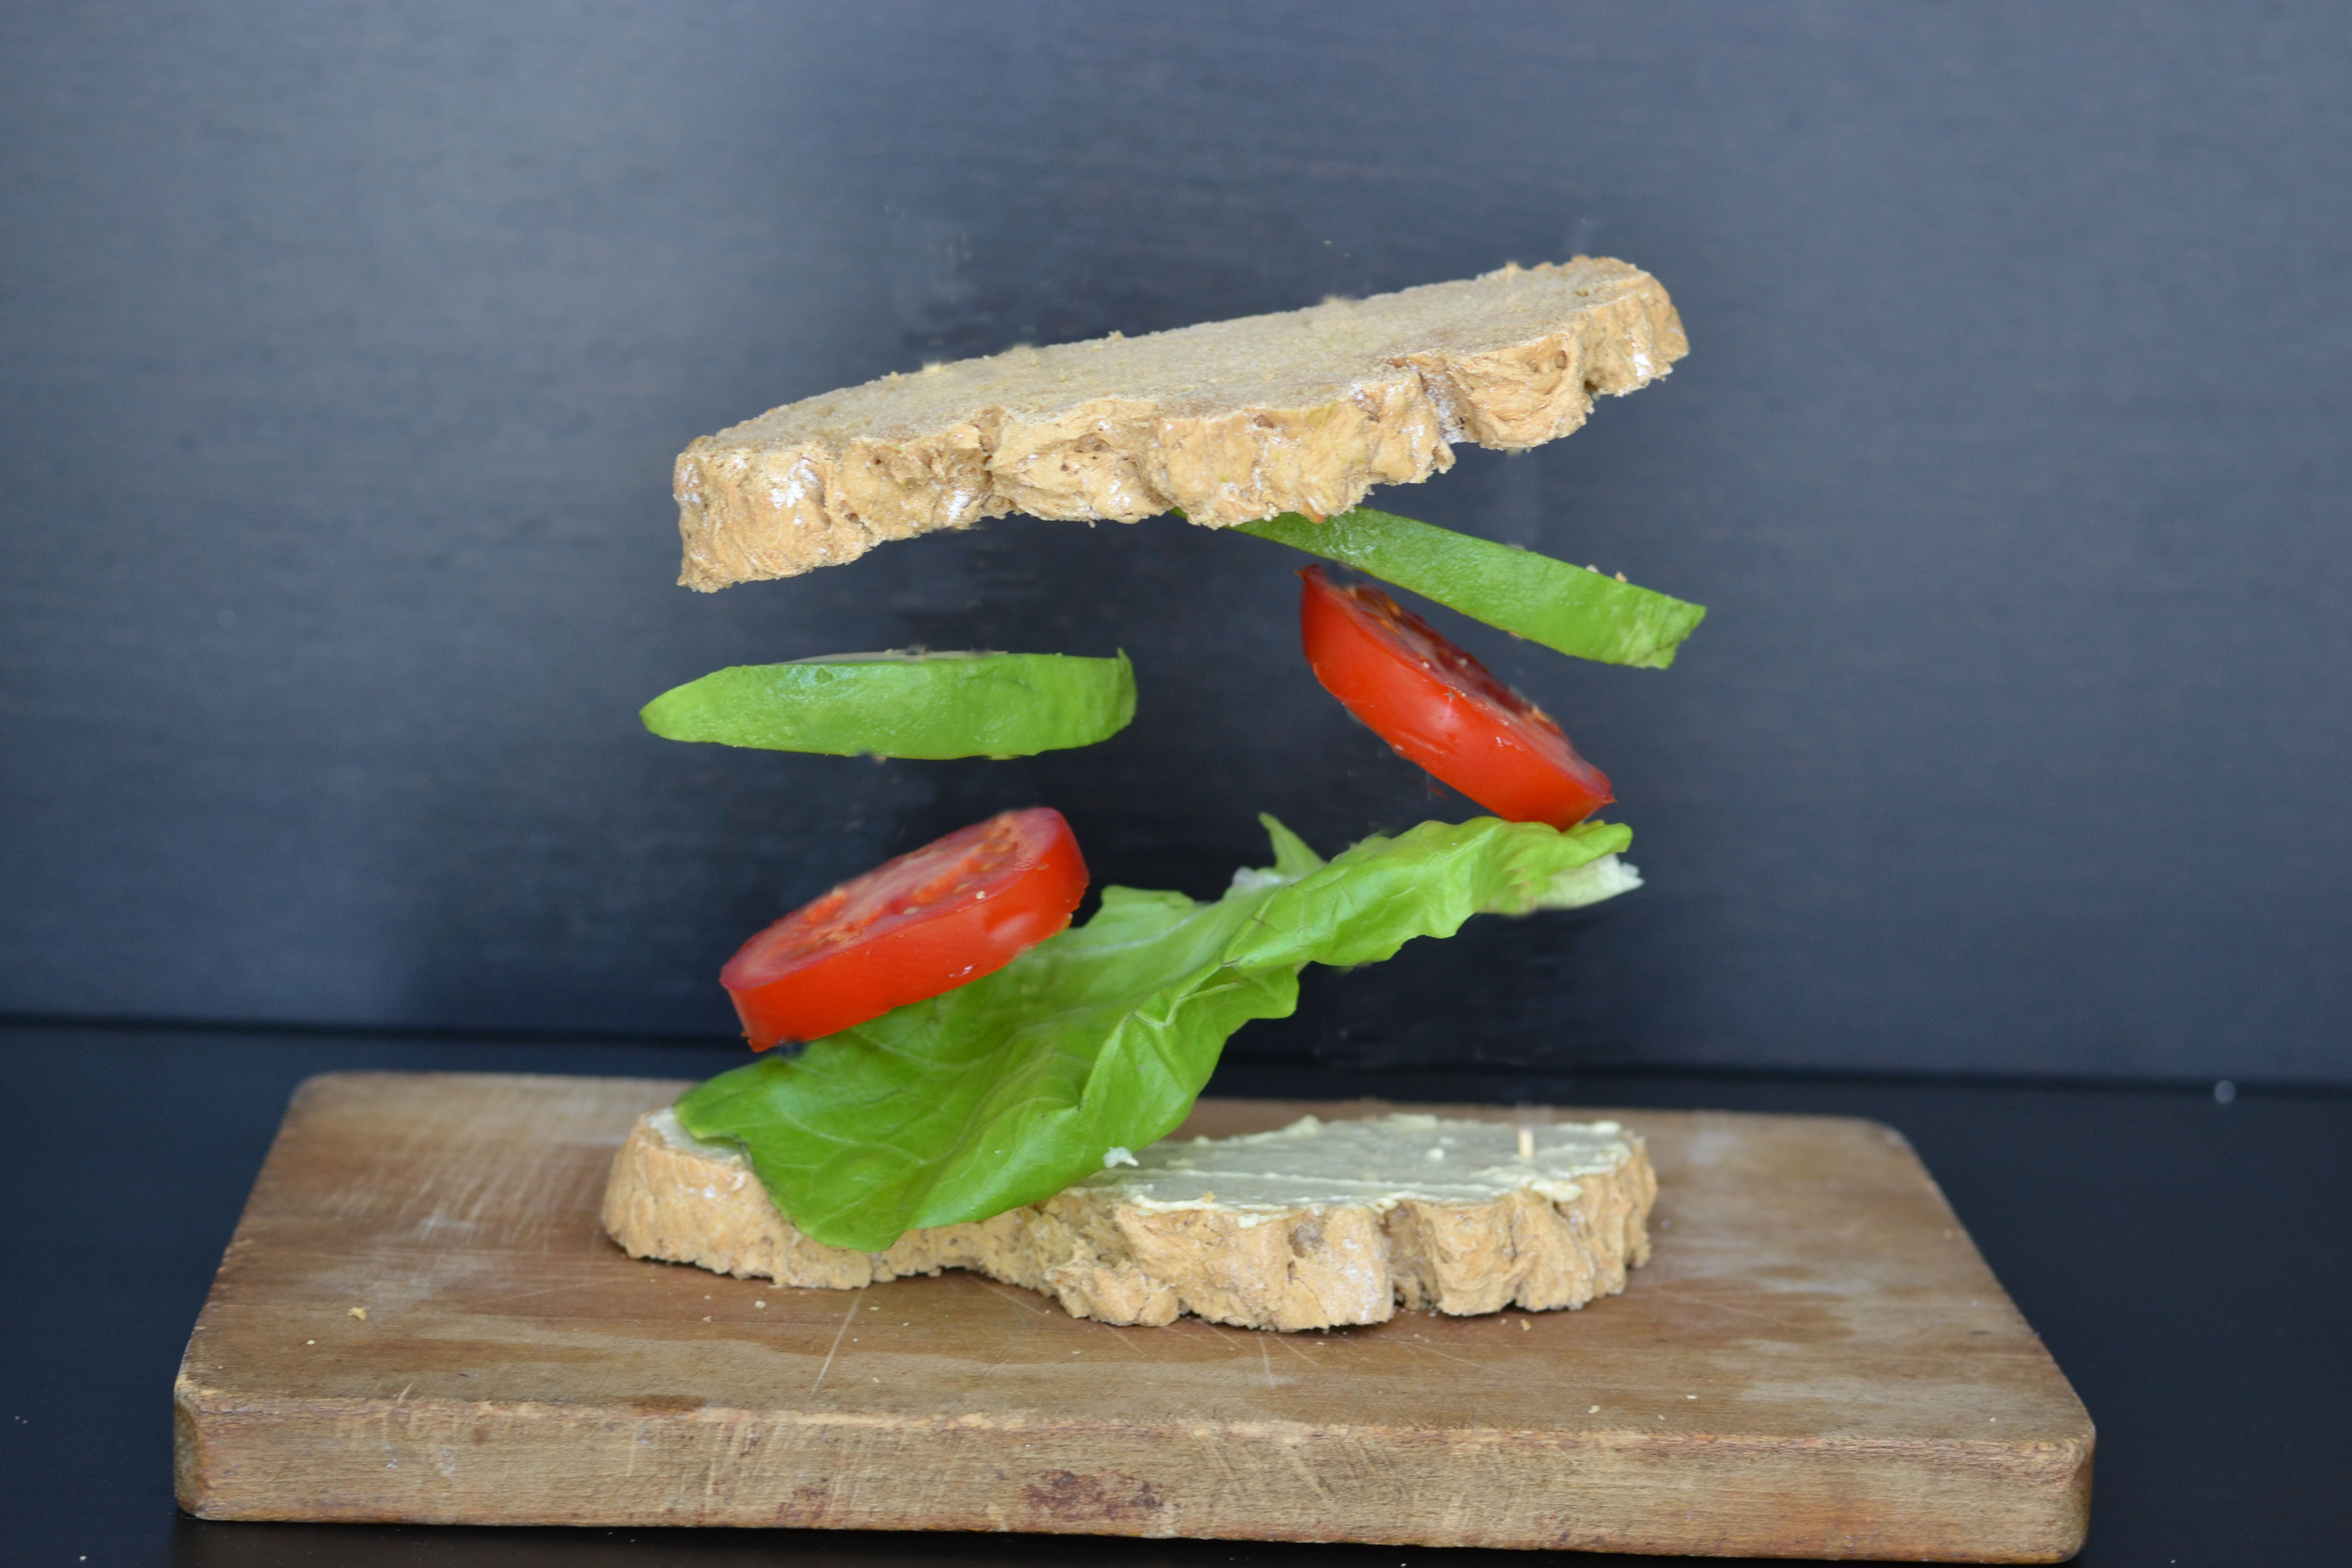
4 Less is more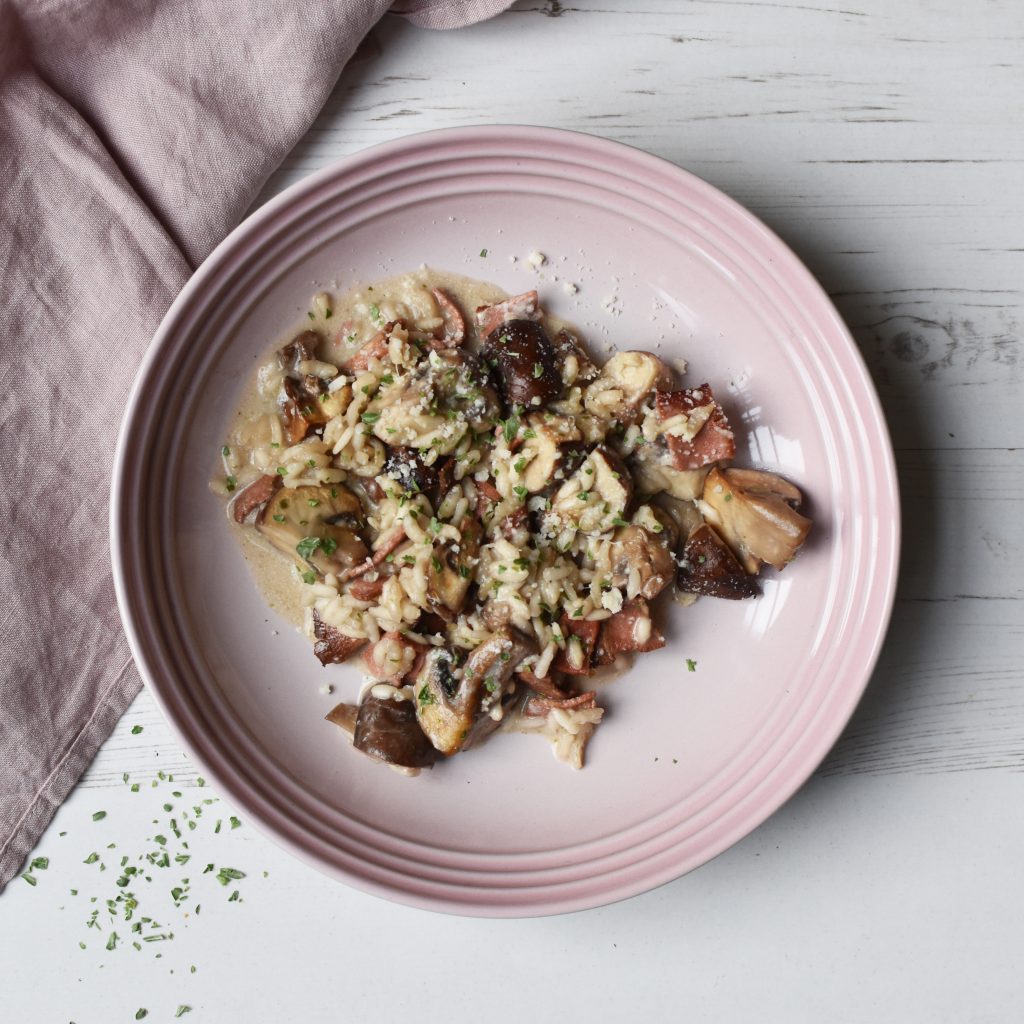 Tip no 4: don’t put too much on your plate. What I show on my pictures is often half of what I really eat. It just doesn’t look pretty if you only see one big heap of food. Deconstruct it a little bit and remember the less is more rule! In this picture I separated the yogurt and granola and added the banana as last step. And I used tip no 1: pretty tableware.
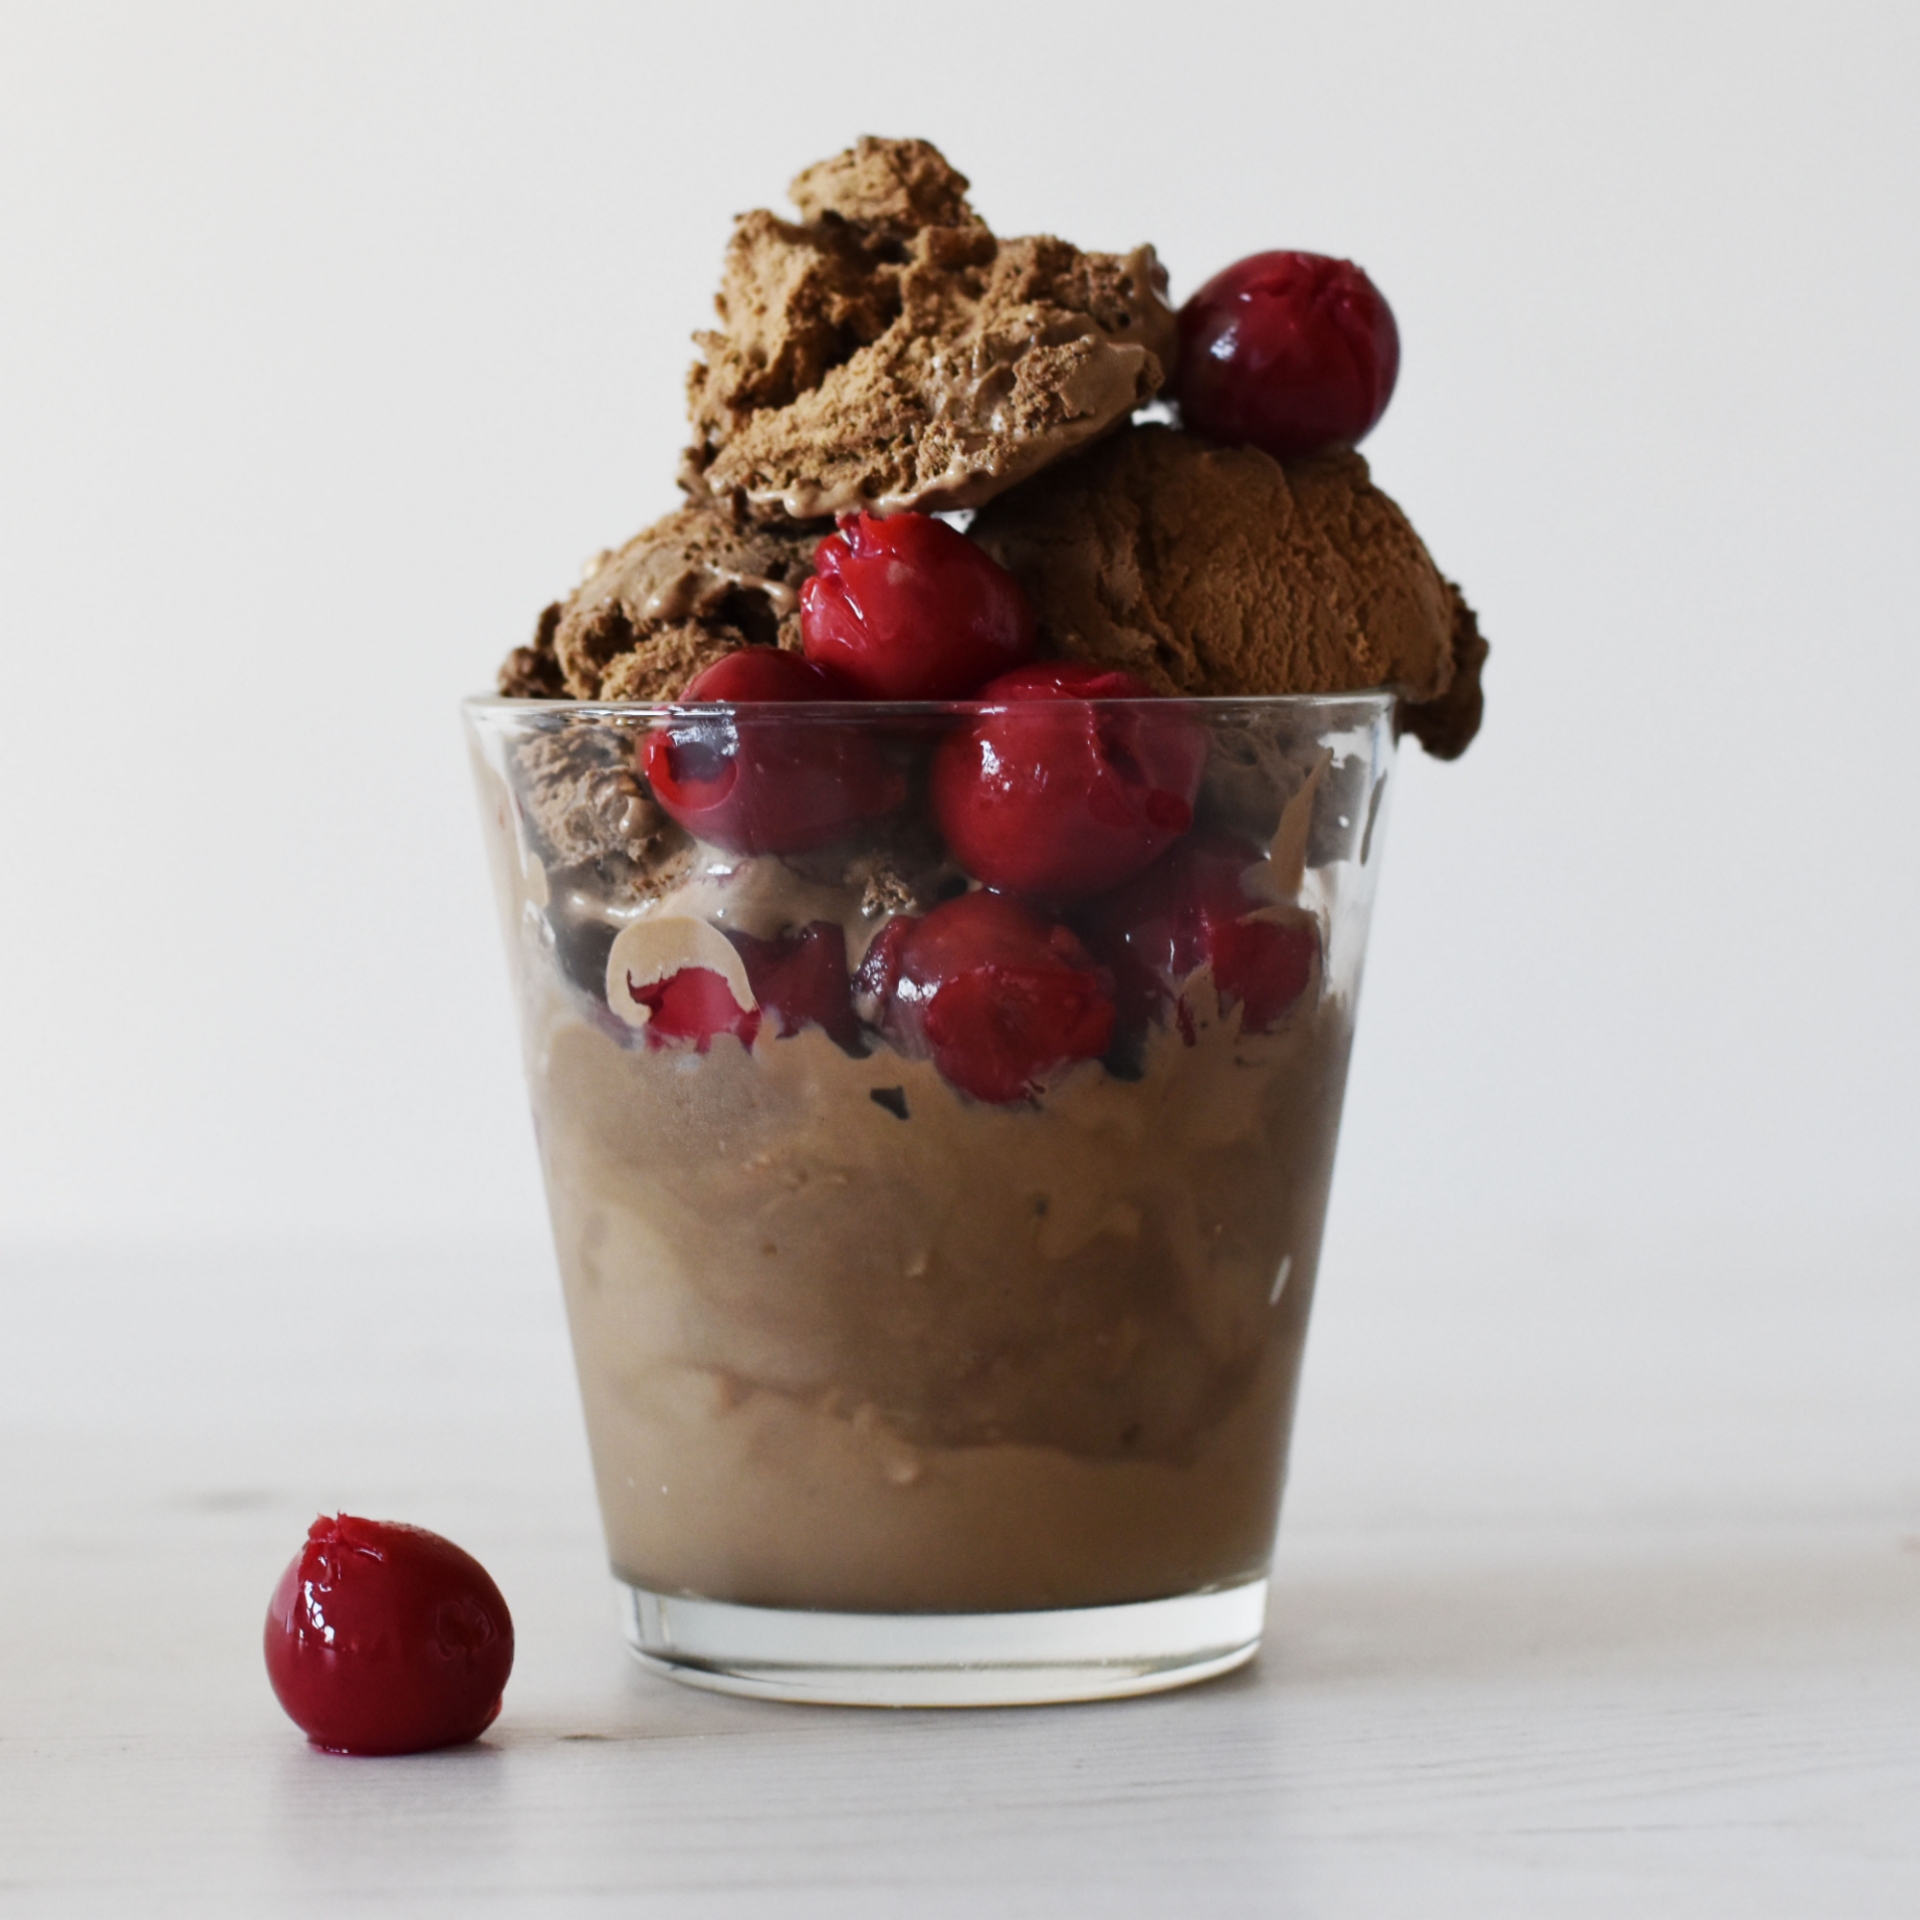
5 Think in colors
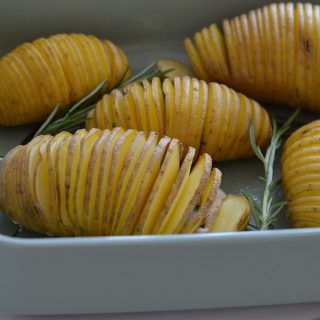
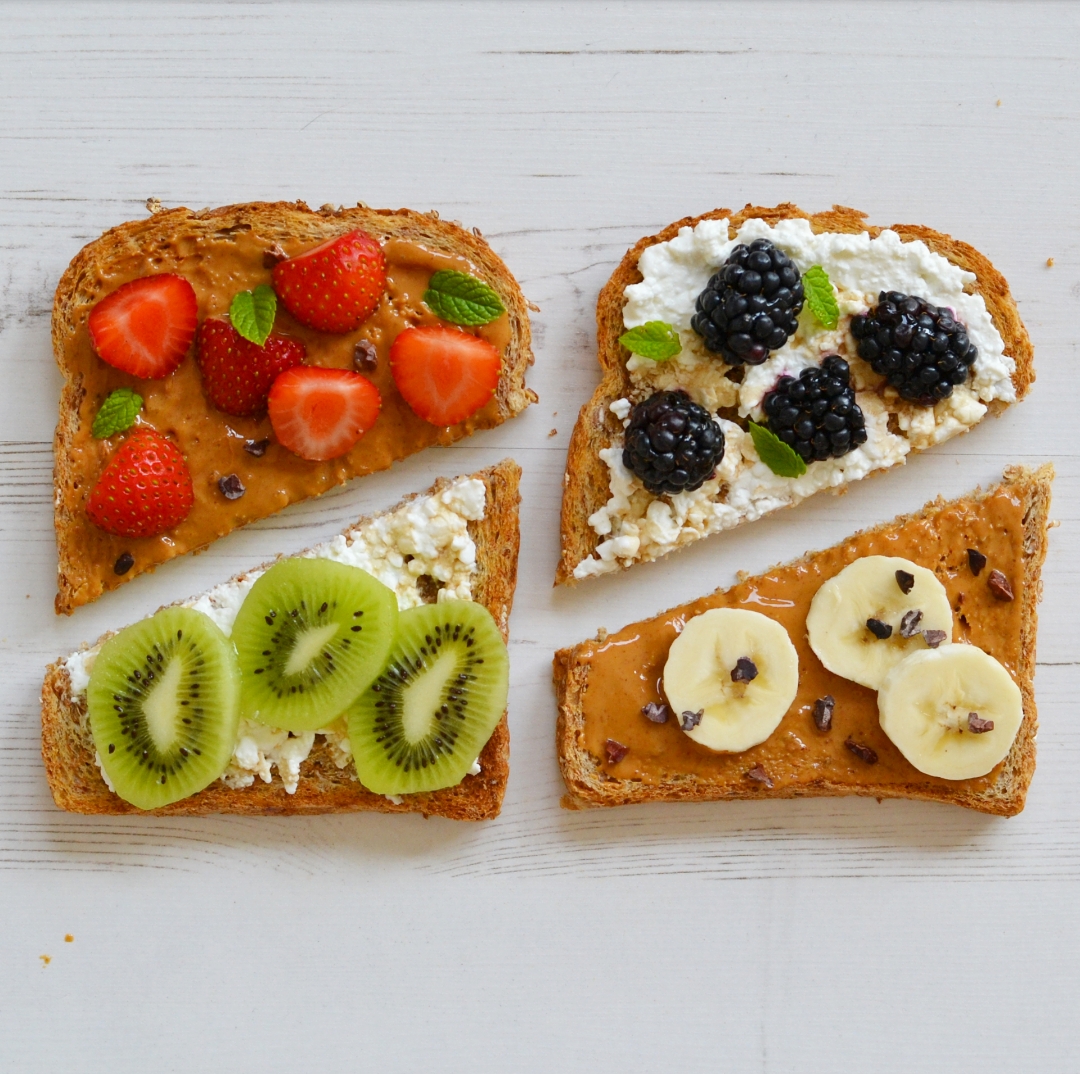 When I’m preparing a meal that I’m going to photograph I always think about the colors. What are good combinations? Or how can you add a bit of color to the dish? Vanilla ice cream is quite plain, but a great picture if you add some grated chocolate, pecan nuts or chocolate sauce. Sandwiches are great canvasses for colorful paintings. Many tasty combinations are also very colorful. Ricotta, blackberries and mint for example. Or peanut butter banana and cacao nibs.
I hope this tips have inspired you to take your food pictures to the next level! Follow me on Instagram (@anne_travel_foodie) for more food photography inspiration!
You might also like my post about flying food!
Related Posts


Pingback: Food News Easter and April 2019 - Anne Travel Foodie
Pingback: We bought a house! - Anne Travel Foodie
Pingback: How to make floating food photos - Anne Travel Foodie
Pingback: Review Mob Veggie en recept Balti Taart - Anne Travel Foodie
Pingback: Rueda Winefluencer: tussenstand - Anne Travel Foodie
Pingback: 5 Tips voor mooie Reisfoto's - Anne Travel Foodie